Categories
Tech

Moose Industries Snow Plow on a Land Cruiser

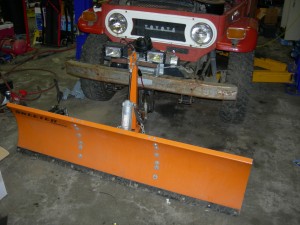
After I we had a big winter snow in 2008 I started looking for a snow plow to put on one of the Land Crusiers. I looked on EBay and Craigslist. It was a good time to be selling a plow. It isn’t that often the Puget Sound area gets that much snow and everyone was looking for someone to dig them out. I found the lite weight plow on ebay from a fairly local seller, just south of Portland Oregon. I lucked out and it was his first time selling on EBay, and he didn’t set a reserve. Timing was right and I ended up winning the auction.
DSCN4191

My son and I took a trip down to pick up the plow and spent several hours looking talking to the seller and looking at his gallery. He has since moved from industrial fabrication to metal art. He had an amazing collection of gongs, chimes and modern art sculptures.
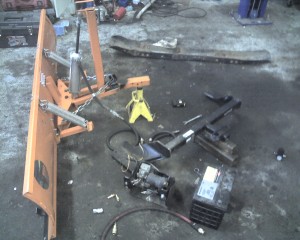
Photo_111909_001

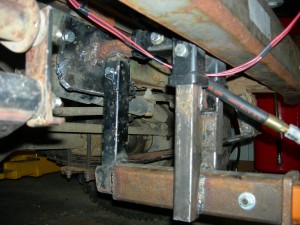
The plow is well built and has many of the features present on the larger plows. It is designed to fit a 2″ reciever mounted on the front of the truck, not unlike the Multi-Mount winch mounts by Warn. There isn’t such a mount for the early Land Cruisers so I had to build my own. The other consideration is the 11.5″ mounting height required for the plow to function properly. I made a two part mount, one that is semi permanent and tucked up just below the bumper. The second part contains the drop to reach 11.5″. With it removed, frontal approach angle is minimally impacted.
DSCN4189

We have yet to have snow this year but I am anctious to see how well it works. Unfortunately they are no longer in production, but are not too unlike the UTV snow plows Warn produces. With a little work, having a lite weight plow built for mid-sized to compact SUVs and trucks shouldn’t be too difficult.
Categories
Tech

York Compressor on a ’73 FJ40

I recently installed a snow plow on the front of my ’73 FJ40. It is a nice lite weight plow made by Moose Industries in Alaska. They are no longer in business but the owner, relocated to the Portland, Oregon area, had his last stock of them for sale on Ebay last winter after we had our big snow. The plow uses a pneumatic cylinder to lift the plow and gravity to drop it and has most of the features of the larger hydraulic plows commercially available.

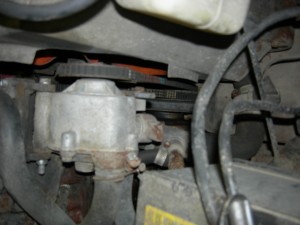
I was going to use a small compressor and a tank, but was worried about having enough volume for short runs and constant lifting of the plow. Next I looked at the ViAir 450 series compressor with 3 gallon tank. This would have been the easiest approach and is a very nice constant duty system, but I didn’t want spend the money. I took a quick trip to the wrecking yard and found a used compressor from a 1982 Volvo sedan. This compressor also had the P/S pump and brackets. The ’82 Volvo used a Saginaw P/S pump but has a metric fitting on the back and a wide pulley. This is the pump I used in my P/S pump conversion on a ’84 FJ60. The York compressor is also used on many American made cars and trucks, including many of the full size Jeep’s and Ford trucks.

DSCN4141

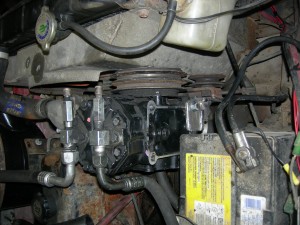
I decided to mount the compressor on the passenger side of the engine, in place of the AIR pump. on reason I chose this side is because I didn’t want to loose the stock air cleaner housing. I also designed the bracket to fit on the 2F engine that I plan on putting in the FJ40 in the future. I used the AIR pump clean air port on the housing as my clean air pickup for the compressor.

DSCN4178

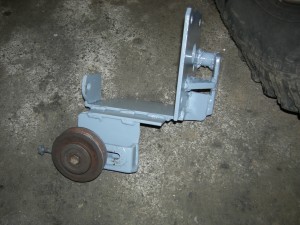
It’s important to keep the Volvo bracket if you can get it. It will save a bit of cutting and drilling. I cut the top P/S mount off of the bracket and flipped it over. For the cylinder head plate, I made a paper pattern to clear the #1 spark plug wire and traced it to a piece of 3/8″ plate I had. I then measured the offset for the compressor bracket and matched the two together. With the stock battery tray in place I had about 2″ between the york compressor and the cylinder head, just enough room to fit the bolts. Two bolts mount directly through the cylinder head plate, the third hole is through the compressor plate, a 1 1/4″ spacer and the cylinder head plate. The two plates are connected in three other spots with gussets and braces. I also used the belt tensioner from a 3FE A/C belt.

DSCN4192

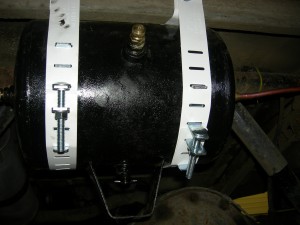
For the air tank I found a used Semi Truck air reservoir at Northwest Truck parts. It’s about 3 gallons and has a larger diameter than I wanted but the price was right.  It is mounted under the rear of the truck just behind the frame cross-member.

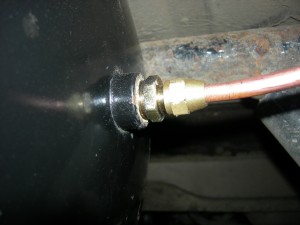
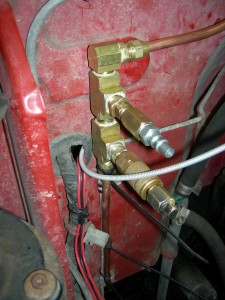
For the manifold, I used brass fittings from the hardware store. For the air lines I just used 1/4″ copper tube and 3/8″ flare fittings.

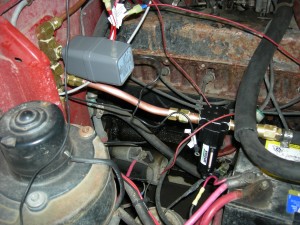
The compressor is controlled through a Viair pressure switch and relay.  There is also a coalescing filter and pressure relief check valve.  The coalescing filter removes any excess oil from the lines.  There will be a return plumbed in to put the filtered compressor oil back into the compressor.  The relieve check valve allows the compressor to start without any head pressure.