Categories
Tech

Warn 9.5ti in FZJ 80 stock bumper.

I don’t know why, but I like to try and fit winches into the stock bumper. Here I will install a Warn Industries 9.5ti winch into my ’95 FZJ80 Land Cruiser. A standard configuration winch would have been much easier to install, as the 9.5ti has the solenoids mounted inside the top cross brace. This required extra clearance when figuring out how to position the winch.

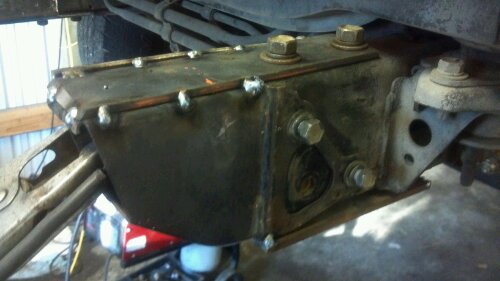
To start with, I fabricated some frame horn extensions that the winch mounting plate will be attached. I used the existing mounting holes and the stock extensions as the pattern. I also used the stock extensions as the outside of the bracket and to fill in the front.
image

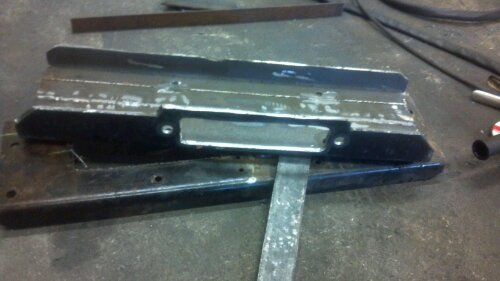
Next, I made my winch plate from some 1/4X 4″ square tube. I copied an old winch plate that I had modified for my FJ60 Winch Installation. Due to the dimensions of the winch and the space between the frame rails, the plate is slightly asymmetric.
image

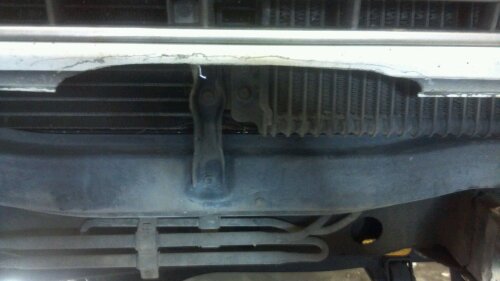
After some careful measuring, I trimmed the lower valance to fit the top of the winch
image

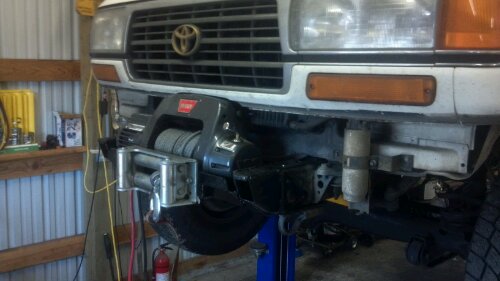
After welding the plate to the extensions, I trimmed the plate 4.5″ on each side, in the front so I didn’t have to trim too much of the bumper. It’s hard to see, but there is a 45deg filler welded in. I didn’t just want to trim the front of the plate like I had seen on some other installs, thinking the more structural support, the better.
image

Installed in the front before installing the bumper.
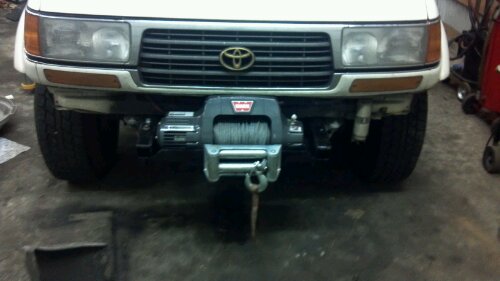
image

It isn’t centered in the bumper, but doesn’t look too bad. It took several trim, fit, trim sequences before I got it right, without removing too much bumper.

You can’t see it in this picture, but I also trimmed the top of the bumper so the cord can be plugged in, the brake lever can be operated and to hopefully aid in cooling. There still needs to be a little trim added to the sharp edges, but it’s all buttoned up.
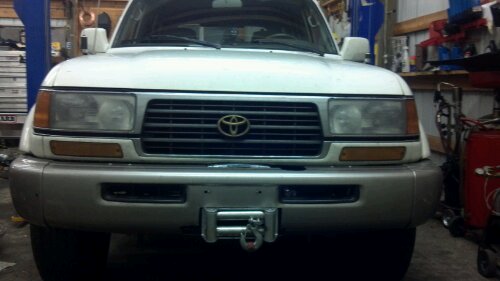
image
Categories
Tech

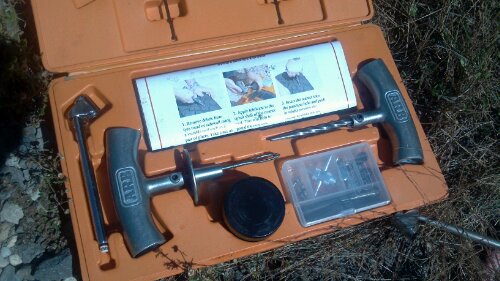
ARB Speedy Seal Tire Repair Kit.

image

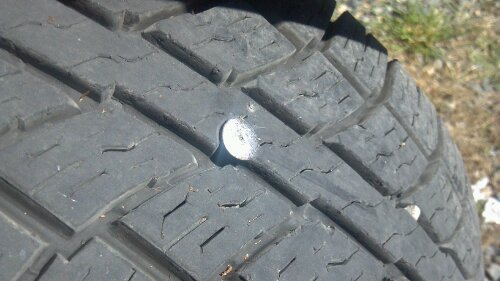
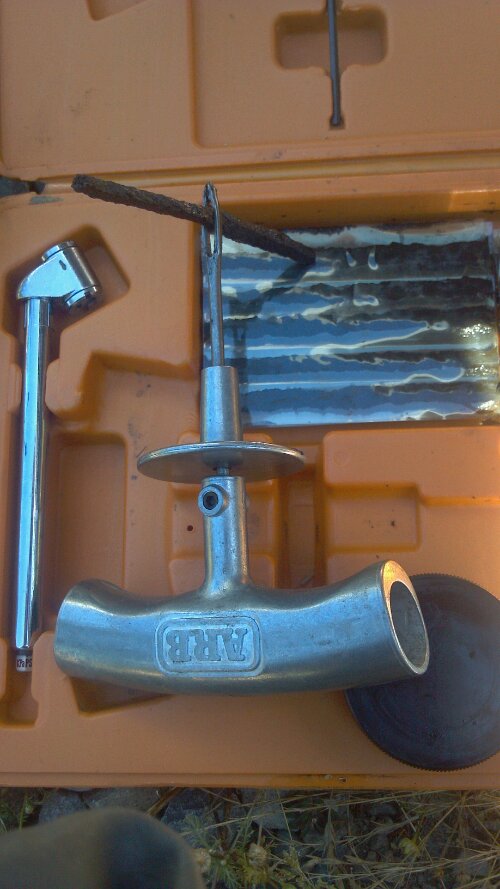
Have you ever found a nail or screw in your tire but are too far away from a tire shop or don’t have time to take it to stop and get it repaired? This simple kit will help get you home.  The ARB Speedy Seal Tire Repair Kit has everything you need.

Locate the foreign object and move the tire to access it, or remove the tire from the vehicle.  Make sure the tire is full of air.

image

I like to have everything prepped and ready to go before removing the nail or screw.  Thread one repair cord through the eye of the insertion handle.

image

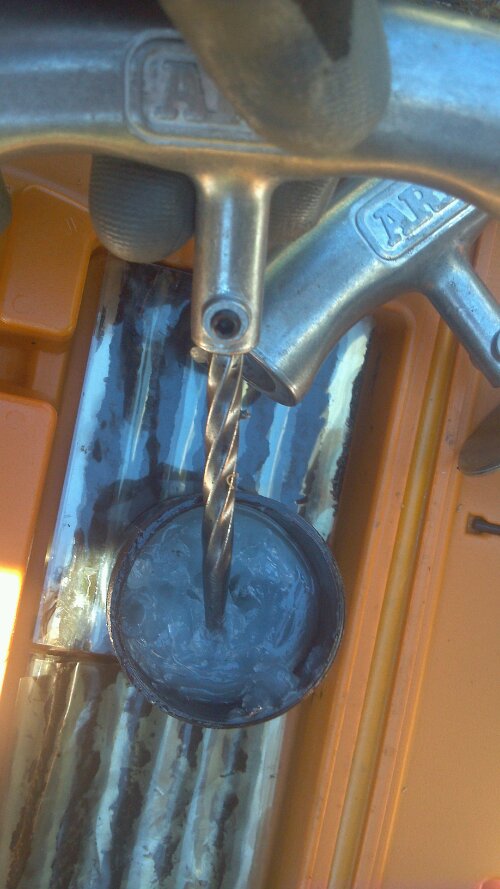
The kit comes with grease for the awl.  This helps properly size the hole without causing additional damage.

image

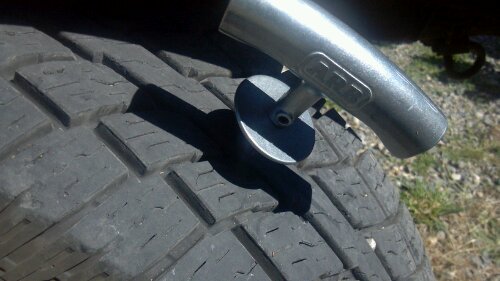
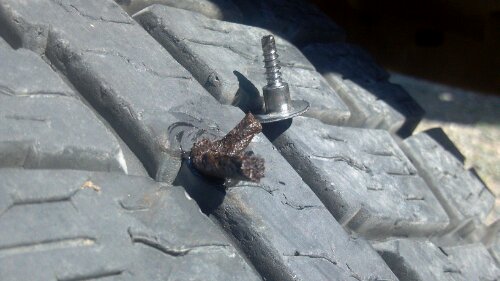
After using a suitable pair of pliers or a screwdriver to remove the nail or screw, clean out the whole with the awl.

image

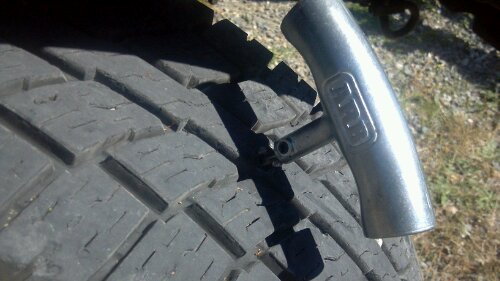
Insert the plug patch handle, with patch cord installed, all the way making sure to seat the collar all the way to the tire..

image

Holding the collar, pull the handle out, leaving just the plug cord in the tire.

image

As you drive, the plug will bond with the tire making a solid permanent seal.  These patches are not intended to fix a sidewall puncture, nor are they intended for repairing a large gash or tire slash.  It is always a good idea to have the tire inspected by a reputable tire repair facility for additional damage that may have been caused.

Categories
Tech

80 Series CDL switch and “Pin 7 mod”

Ever wish you could manually lock or unlock the Center Differential in the transfer-case of an 80 Series Land Cruiser? It’s easy, with the addition of the factory CDL switch, available from your dealer or from Slee Off-Road. For the US market, the Center Differential will only lock if the transfer-case is shifted into low range. This also means your Center Differential will ALWAYS be locked in low range. If your Land Cruiser is equipped with Factory Electric Lockers, they will only engage with the Center Differential locked.

Please note that with the CDL engaged, the ABS light will come on and ABS function will be turned off. This is by design.

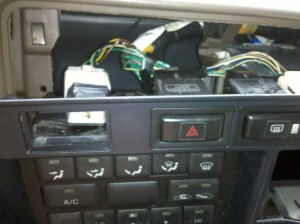
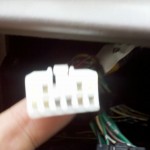
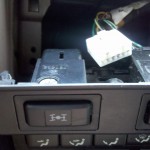
If you want to engage the CDL in high range, it’s as simple as adding the switch. The wiring connector is already in the dash, behind the left switch blank, next to the hazard switch. If equipped with factory alarm, this blank may be in use, but the wiring is still back there. Pull the center instrument panel trim after removing the 4 screws, insert the switch into the dash and plug in the connector.

Now, if you want to be able to disengage the CDL while in low range, there are a few additional steps. This is what is called the “pin 7 mod”. It involves removing a wire from the CDL “transmission control relay” connector (located behind the silver ABS computer at the drivers side kick panel).

Disconnect the connector from the black relay box, locate the black with blue wire and carefully remove with a pick or terminal tool. Be sure to wrap this wire with electrical tape so it doesn’t ground out. Reinstall the connector and the ABS computer.

Categories
Tech

80 Series CDL 4 low switch

image

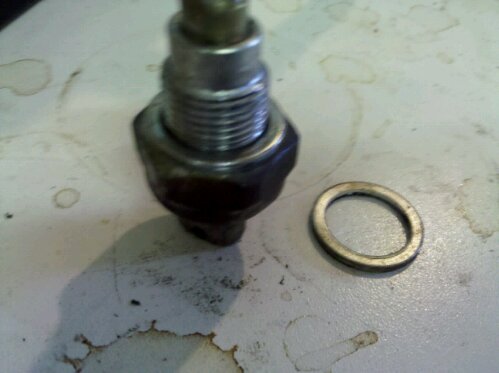
Are you having an issue locking your electric lockers or center differential?  One common culprit is the 4low switch on the top of the transfer case.

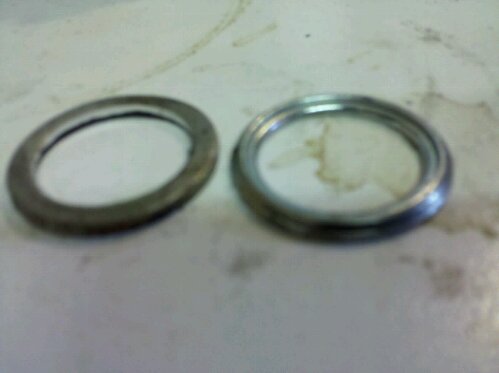
Often the problem can be easily fixed by using a thinner sealing washer.  Here I used a diff drain/fill plug washer (right).  It isn’t a solid washer, and crushes thinner than the original washer (left).

image

But first, make sure the switch functions properly by performing an ohm check while depressing the switch (requires removal of the switch).  The switch shouldn’t need to be pressed very far to close.  If your switch is bad, a new one can be found at your local Toyota dealer, part number 84222-12010.

Categories
Tech

FZJ80 Second battery tray.

image

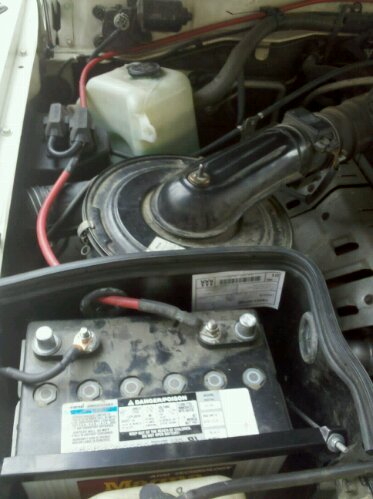
To finish my dual battery installation in a 1995 FZJ80 I turned to CDan and crew at American Toyota in Albuquerque, NM. They had the tray and all hardware in-stock and ready to ship.

The tray is from a ’91-’92 FJ80, that has the 3FE motor, and needs to be trimmed slightly to fit against the fan shroud. The overflow bottle can stay where it is but the washer bottle needs to be relocated. One common place is between the firewall and the air cleaner housing, right next to the cruise control motor. Slee Offroad has a simple solution using two brackets. I plan on just making my own.