Categories
Tech

Remote Oil Filter

I have had this project on the back burner for a while. I just finished installing a lift in my shop (read more here) and was changing the oil on my FJ60. Standing under the truck gave me a little better view and a different perspective of the project. I am making a bracket to make a simple installation that does not require drilling, but wanted to get something working right now.

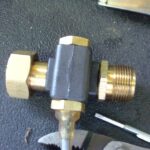
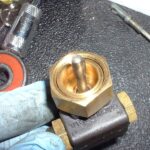
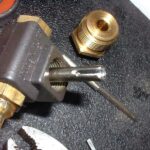
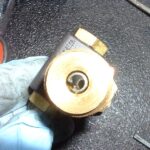
I started with a filter base and a filter adapter for my size filter. Both are available from many online vendors as well as Napa or CSK. You can also buy a complete kit that comes with both pieces and a section of hose. I am trying to build my own kit, so I purchased everything separately.

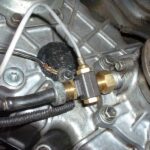
The first part was to find a good location for the filter past. I chose the frame rail just under the charcoal canister. This is an easy location while draining the oil and is protected from debris. I thought about trying to put it above the skid plate but couldn’t come up with enough room to make it easy. I used one of the 8mm holes already in the frame and drilled a second hole and tapped for 8×1.25. The filter base has 3 holes, but I figured just the 2 would be fine for now.

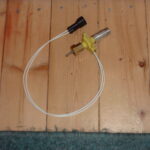
For the hose, I used some high pressure hydraulic line with swivel compression fittings on one end to make installation easy.  This hose is overkill and I will find a little more economical solution for the kit.
Categories
Tech What's going on

Giving the shop a lift

I have been wanting a lift ever since we built the shop. Now that I am getting a little more busy and doing a wide variety of repairs (and feeling old as my body creeks getting back up off the floor) I figured it was time to make the investment. I did a lot of searching and some research into the different brands and models of lifts. The 2 basic types common today are the 2 post and 4 post. There are slight variations within these categories like the Over Head Post and Base Plate 2 post lifts.

The 4 post lift is the easiest to install and doesn’t need to be anchored (but I would) to the concrete. This lift is often used by car collectors to get a little more space out of a small garage. They are stable and easy to operate. The done side for service work is the tires stay on the lift so a “jacking bridge” is needed to lift the car/wheels off the lift. Then you still have the lift in the way.

truck on the lift The 2 post base plate lift has the hydraulic lines and equalization cables running under a “base plate” that runs between the posts. The advantage to this lift is clearance above the lifting area. You don’t have to worry about a large vehicle hitting the top support.

I chose the 10,000# over head 2 post lift from CEM lifts in Monroe, WA.  Chris was very helpful in choosing a lift and provided good technical support when I had questions with the installation. This lift has a bar that crosses between the top of both posts to carry the equalizer cables, hydraulics and what ever else needs to go between the posts. I chose a tall one since I work on a lot of trucks and a van every once in a while.

The directions say it should take two people about 5 hours to erect the lift. I did it by my self in two half days. The first step was to lay out the placement and check the concrete thickness. The lift requires 4-6″ thick concrete for proper tightening of the bolts. I purchased a rotary hammer from Harbor Freight tools. They had one that would do the job for a little less than a 1 day rental would be. I used this to drill a test hole at the center of each post mounting point to verify the thickness of the slab. The rotary hammer was also used to drill the holes for the mounting bolts.

Land Cruiser on the liftWhen I had the shop wired the contractor put in the power for the lift since I knew I would have one some day. The hydraulic pump runs on 230v 1 phase power with a 20 amp breaker. I used a generator type twist lock plug for a quick disconnect within reach of the controls (in case of emergency).

Running the hydraulics, filling the pump and adjusting the equalizer cables were the last steps in getting the lift operation. After a few cycles of the lift to get all the air out, I put our F250 Diesel truck on the lift to give it a test. No problem, I even cleared the bay door. Next I put my FJ60 Land Cruiser on the lift to check height. With the roof rack I was able to raise the lift to the top locking position with out hitting the safety stop on top and cleared the bay door in the back.

clears the door

The last thing I had to to was rearrange my storage and bench locations to make working around the lift safer and easier. I’m sure this will be an evolution process as I find out what works and what doesn’t.

A few of the other items I need to make working on the lift easierare an oil drain, transmission jack and safety stand. The vehicle is essential when changing the weight of the vehicle once on the lift or doing work that takes a lot of movement. While the lift is very stable with the vehicle raised, it doesn’t take kindly to sudden shifts in weight.

 I did the first oil change on my wife’s car and my truck with the lift and I think I am going to really like having this, even for the little jobs.

Categories
Tech

ARB Air Compressor Installation

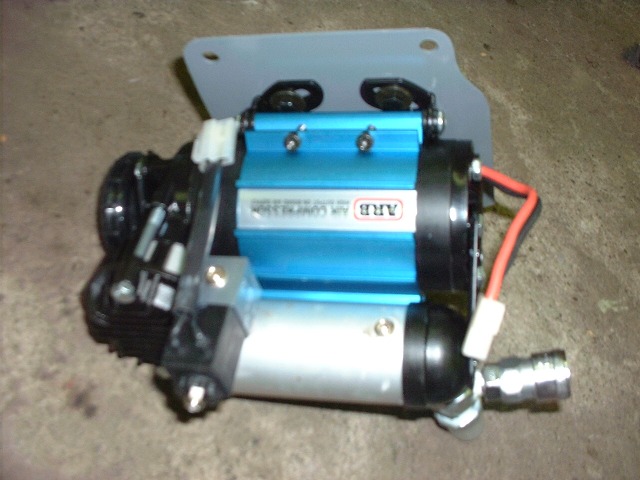
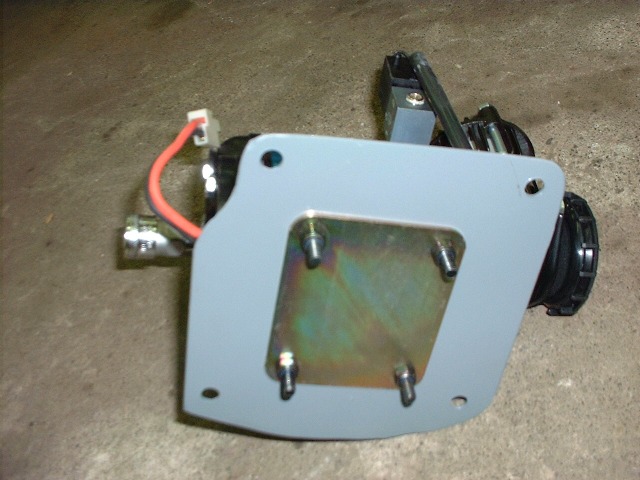
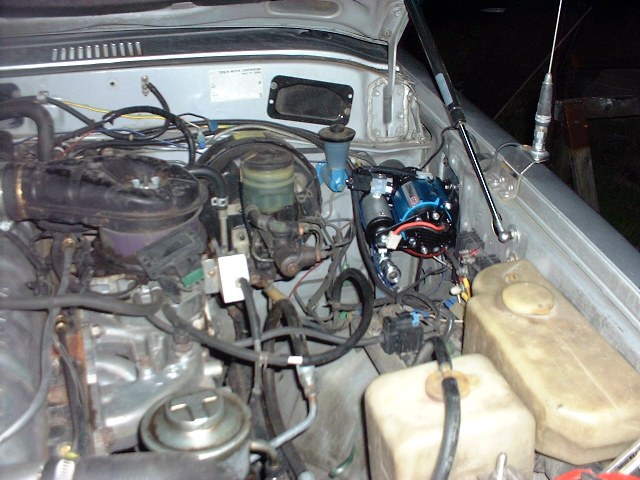
In Preparation for my AirLocker installation in the coming weeks, I decided to get the compressor mounted. It took a little thinking to find the proper location for my application. I have dual batteries and a battery isolator. I did remove the AIR pump and associated valves and switches so this makes up some room. I also removed the carb cooling fan. This is were I decided to mount the compressor. The compressor is suppose to be mounted as high as possible and away from direct heat. Luckily I still had the duct for the fan so I used it as a template. I cut out a plate from 16ga and drilled holes for both the mounting points.

I then mounted the compressor to the plate using the supplied hardware (including the backing plate)?

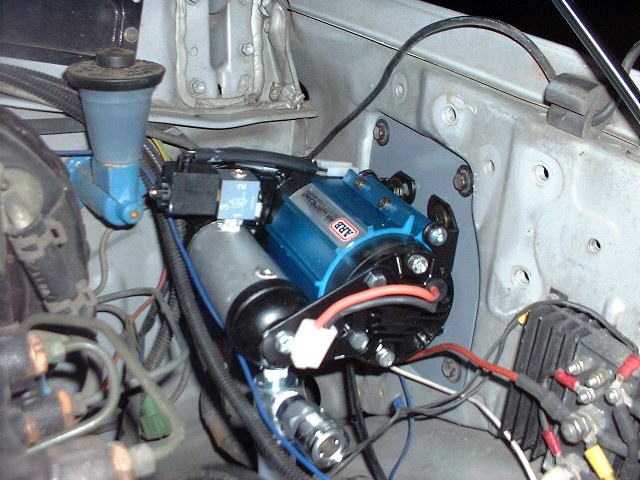
The compressor and plate were then installed into the inner fender. It just clears the clutch master cylinder and the pressure switch and air chuck clear the wheel well. The filter for the compressor is mounted toward the firewall to insure clean dry air.

Categories
Tech

New VSS for the 2F TBI

When I originally installed the TBI setup on my ’87 FJ60 I used a vehicle speed sensor (VSS) from Jags that Run. While this was a good sensor and lasted many years, it never tightened snugly to the transfer case driven gear housing. This would cause a shaky speedometer needle when cold. Even after trying to shim it with a washer it wouldn’t tighten down. On a short trip to Capital Forest I had a stick get caught on the speedometer cable and brake the sensor off (forgot I didn’t have the skid plate on).

After searching around for an alternative I found Aurthur Allen, a manufacturer in Chicago. They make a very nice sensor with a cast hosing and solid brass fittings.

Arthur Allen VSS

While it is available in metric threads to fit the Toyota cable/transfer-case, it didn’t have the correct tang on the transfer-case side or the correct slot on the cable side. I still had the drive tang from the old VSS.

Cable drive tang

The old VSS had an extension housing built with the appropriate driven tang (or drive tang to the cable I guess).

Old VSS

Any way, it was easy to disassemble the sensor and remove the shaft. I then drilled out the TC side to just over .187″ (using a 3/16″ drill bit) and using my cut off wheel made a slot for the cable.

Slot for TC drive tang

I then drilled out the brass fitting to 5/16″ to make room for the protrusion on the tang and re-assembled.

Finally I mounted the sensor and finished the wiring. For the wiring I used a two pin weather pack connector.

VSS Installed

A few notes on this VSS. It tightens town nice a snug with no movement. It is shorter than the other VSS because it doesn’t have the extension added. I suppose only time will tell if it is a better design or not. I ordered this one from Portland Speedometer for $100 to my door. A little more the the JTR, but hopefully worth it.

Categories
Tech Vehicles

Buying a 60 Series

I recently had a friend ask my about buying a FJ60. He and his wife recently had their second child. This topic comes up often on the IH8MUD.com forum . So I thought I would write down my 2 cents.
Having a child is exactly the excuse (or reason) I used to get started in Land Cruisers and get my 60.

A few things about 60s, as I have observed them.

Diesels were not available in the US, but Canada got them until 1987 (BJ60) with the 4 cylinder 3B engine and (HJ60) 6 cylinder 2H engine. They are at the age that they can now be imported into the United States, but I have no experience there. Non-North American engines are also available from few sources, G&S Cruiser Parts in British Columbia being one I am familiar with.

The US trucks also did not come with 5 speeds, but after 4/86 (I think), they came with a 4 speed that was the same length as the 5 speed so the swap is easy. The Canadian diesel trucks did have 5 speeds. The 5 speeds behind the B series engines use a different input shaft than the 5 speed for the H and F series engines. Don’t buy a 5speed out of a BJ to put in your F/2F. Earlier 4 speeds require modifications of transmission mount, drive shafts and tansfercase shift linkage. New 5 Speed (H55F) transmissions are available from Toyota for around $1895 (less if you hunt around).

Common body rust areas are around the rear fenders and the A pillars by the top of the windshield. If the A pillar seams have been leaking, look for rust in the floor pan too under the carpet. If you ever want some help looking at one let me know.

One note for future use with the kids. The rear seats didn’t have a shoulder belt. No big deal for child seats that just use the lap belt, but later on with the booster seats it can be an issue. I installed rear belts from an ’89 FJ62. Some of the earlier 60s have the threaded nut in the C pillar for the top of the shoulder belt, but the later (’87 in my case) did not. I was able to get a nut up there and it is very secure, so don’t let it be a deterrent if you find a nice later truck.

All 60s are carburetor. In ’88 they went to the FJ62, which had the 3FE port injection engine in front of an Auto tranny. Some of the first ones didn’t have power windows, but all of the later ones and the ’89/90 62s do.

I keep forgetting to take pictures of bad ones, but can get a picture from a clean one I just finished.  It is common for the inner axle seal to leak on the front axle of a high mileage rig.  It is also common to leak on one that has been rebuilt wrong.  The inner axle seal leak allows gear oil to move from the front differential into the birfield joint area inside the knuckle.  This mixes with the grease and becomes a soupy mess.  Soon, the grease/oil mixture will start leaking out the wiper seals.  Dust and dirt collect on the knuckle making a thick mess.  Worst case, the gear oil will migrate out to the wheel bearings, leaking out the outer axle seals and soak the disc and brake pads.

I love driving the 60 and I think it makes a great family rig and I have used it as my daily driver for 6 years now. I should be turning 300,000 some time this winter, and have had it since 180,000.

I’ll keep adding to this as I think of things or they are pointed out to me.