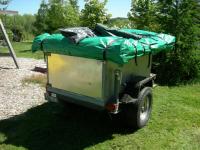
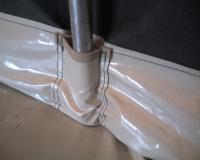
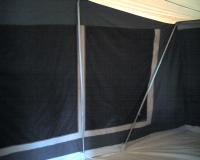
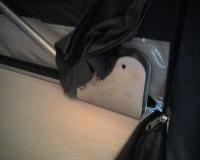
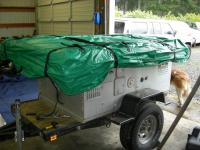
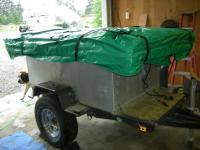
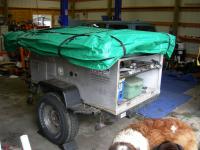
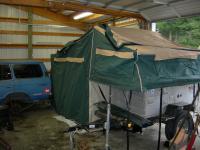
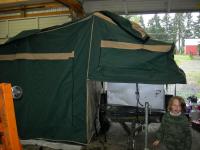
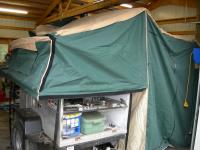
Getting ready for a few camping trips I decided to update a several items on the trailer.
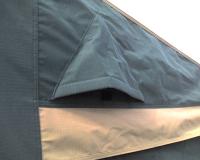
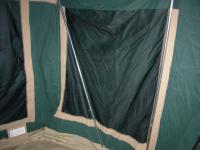
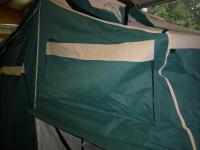
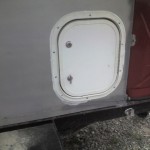
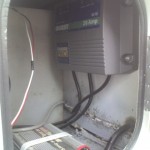
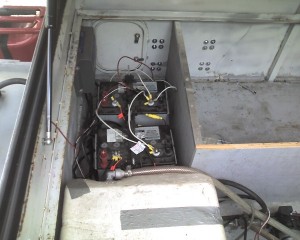
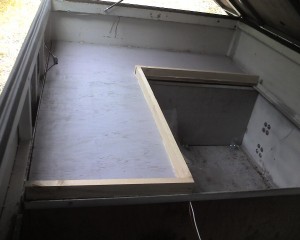
The first was to install a door for a little more storage space and so I can check on the batter charge condition without having to open the top and remove the inside shelf. I was able to find the correct size hatch on Ebay for a reasonable price.
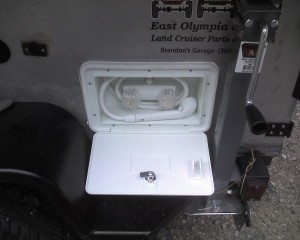
I also installed an outdoor shower box for rinsing off and the occasional shower. I also have a shower enclosure and use the solar shower bag. I like using the bag because it prevents any one from over using the water. The shower will be plumbed into the lines going to the sink in the rear.
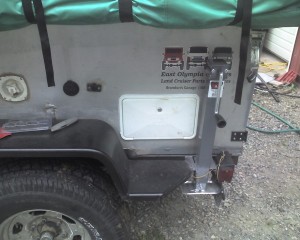
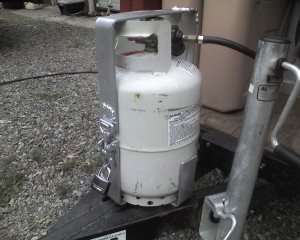
I also wanted to add propane bottle bracket. I kept looking (as others have) for the correct solution for my trailer. I was going to use the XL Quick Fists as they have and extremely high rating, but I decided I wanted the primary tank on the tongue rather than against the box. I ended up bending some 2″x 3/16″ strap on my harbor freight bender. Making 90* bends is about all I use it for and it does the job well. I made a 1/4 cage crossed with a full cage that is hinged on the top and uses a heavy locking clasp. It is bolted to the tongue.
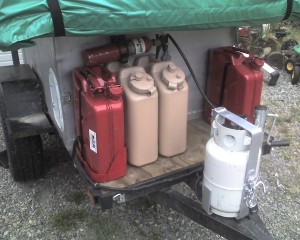
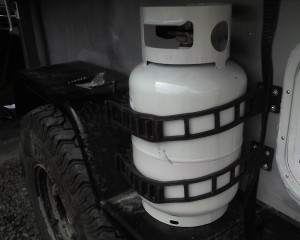
For the spare tank I used the XL quick fist straps. They are just big enough for the smaller tanks and hold it quite well.
The last thing I did before the trip is the installation of the under body water tank and gray water tank. This opened up considerable storage space and lower the COG even more, as well as move the water weight centered over the axle.
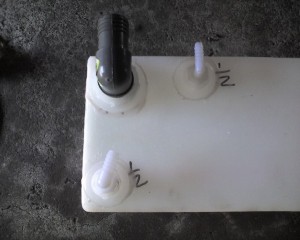
The water tank is just a basic unbaffled 20 gallon tank. All fittings are customizable. I just put a vent, drain and fill fitting.
The tank was fitted up for marking holes then temporarily strapped up with plastic plumbers tape.
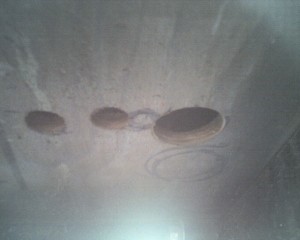
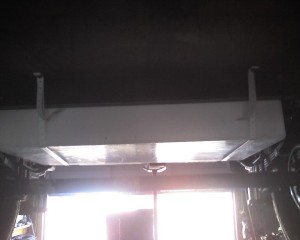
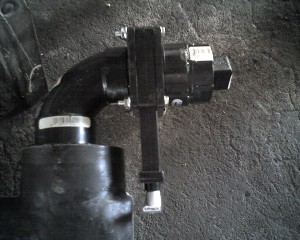
For the waste tank I decided to use a standard RV drain valve. Time will tell if this was a good idea. It sits pretty tight up to the frame behind the spring shackle. This tank came pre-molded with a 3″ drain and is tapered at the back, just enough to tuck up to the rear frame member. I had a 1 1/4″ fill and 3/4 vent fitting added. I got a 3″-1 1/2″ adapter and the valve at the local RV repair store and the ABS fittings at the hardware store.
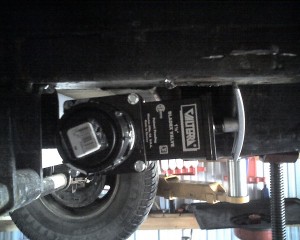
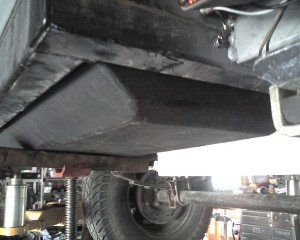
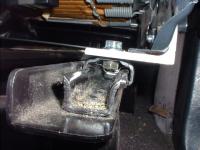
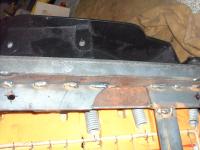
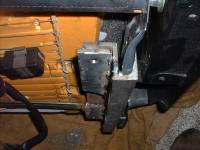
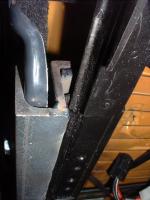
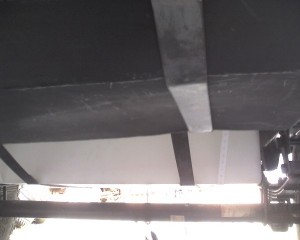
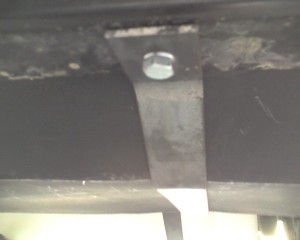
For the tank straps I used some 1/8 x 1.5 bar, added some bends for soft corners and bolted it up to the frame using the same Rivnuts I used in the decking. This is how my Land cruiser gas tank is mount so I think it will be adequate for the trailer.
There is just about the same amount of room between the bump stops and the springs as there is between the axle tube and the tank. I may add a little aluminum skid shield to protect the hoses and fittings. This would be attached to the tank straps.
Here are a few pictures of the tank straps. Turned out pretty well. No sign of failure yet but the center of the water tank may need a little more support.
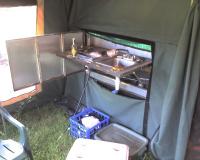
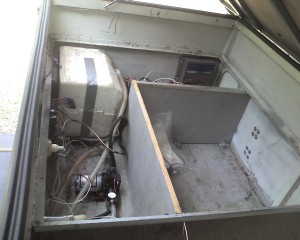
I was able to gain a lot of space in the trailer by moving the water tank underneath. I rearranged the batteries to help maximize this space.
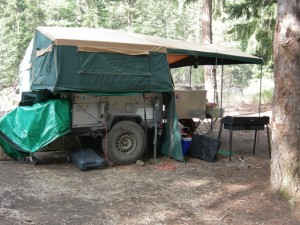
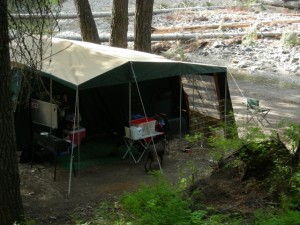
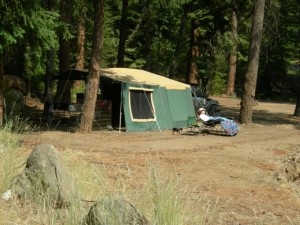
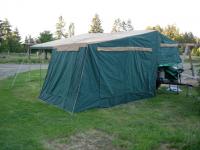
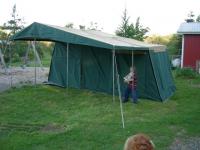
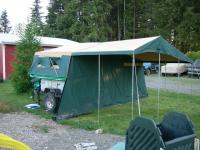
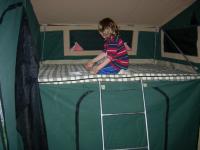
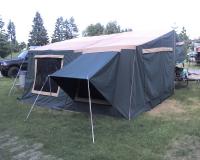
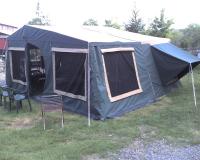
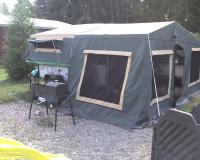
Here are a few of the trailer in action on a recent camping trip to the Naches Ranger district.
