In my Land Cruiser I use a CB radio and Cell phone for most on road and trail communications. Around camp and hiking I use a FRS/GMRS radio. I decided to make a few upgrades in the Land Cruiser to make communication easier and more reliable.
For the cell phone, I have added a Wilson Electronics 3 watt booster and external antenna. At the time they didn’t have the cradle, but my old Motorola phone had an antenna port in the back. Now, they have a complete kit with external antenna, booster, wiring and universal cradle. The cradle has the inside antenna and will work with any phone, regardless of antenna port. I am using mine with the Motorola Droid. While just an external antenna can increase cell phone reception markedly, the 3 watt booster really gets your signal back out to the tower. Even when I don’t have enough signal for voice communication, I can usually send and receive text messages.
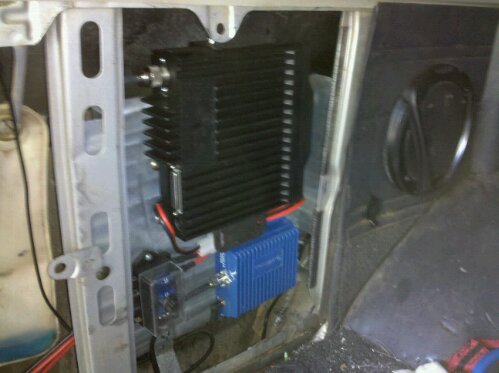
I originally had the booster just sitting under the drivers seat, an extension for the outside antenna, and the cell phone plug. I have been using the cradle for a while and love it. I’m doing some other comms work (keep reading), so I have decided to relocate the booster the the rear quarter panel. The power connector is just long enough, I moved the extension cable from the outside antenna, to the inside antenna/cradle.
One other modification I made to the cradle was to add a small magnet to correspond with the Droids sensor, making it my in car navigation as well as communications device. I will write more on this in another article.
For the GMRS radio, I went to GMRSOutlet.com were I found the Icom F2821 on clearance price. This radio is capable of GMRS, Business and
70cm communication. I had it programmed for GMRS, but also got the programming cable and software. It supports both CTCSS and DTCS tones for privacy communications. Remember, CTCSS and DTCS don’t keep others from hearing your conversations, just keeps them from interrupting you.
Because of mounting space, I decided to get the separation kit to mount the radio next to the phone booster in the rear quarter panel. With a removable face, the controls can be mounted in front. The only problem with mounting the main radio unit in the back, is the power demands. It needs direct battery connection, or at least a 10 gauge wire with 20amp protection.
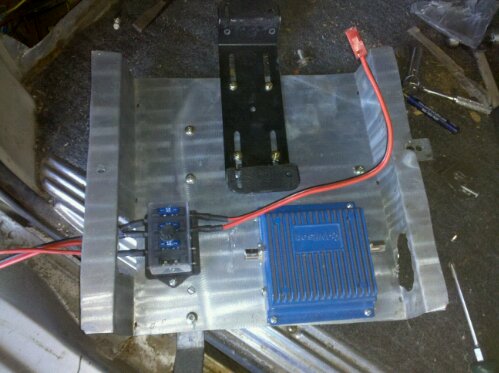
I also wanted to add a power point for an ARB Fridge. so I decided to run some big power to the back. I already have dual batteries, so getting enough power won’t be a problem. I am running some 6 gauge wire to the back. I already have a 12 gauge wire running for trailer power and auxiliary backup lights, but that’s not enough power. I installed an extra fuse block in the back. Both the positive and negative line to the radio needs a 20 amp fuse. The fridge is on a separate circuit, and the trailer charge wire will be moved to run from the last fuse on the block.
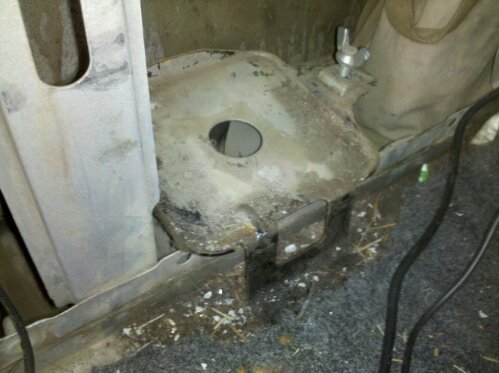
For the radio mounts I decided to remove the factory jack and tool kit. With my lift, the jack doesn’t do much, but I’m going to find a place to put it anyway. The mount for the jack is bolted in on the inner fender and floor of the truck. The Tool bag mount was tack welded to one of the supports. For holding the radios and fuse block, I bent a piece of stainless sheet I had left over from my Off Road Trailer kitchen. I also had some 1″x1/16″ bar for extra support. One bar was bent up to bolt into the lower jack mounting holes, the other runs horizontally from one inner fender support to the other.


